| Status | Run 74 in progress. Warmed up after 3rd appearance of IVC leak at 4K. Cryostat Vacuum Jacket pumped out. |
| | Continued IVC disassembly yesterday. All IVC sections and stripline tube have been removed. |
| 1515 | Matt enters lab |
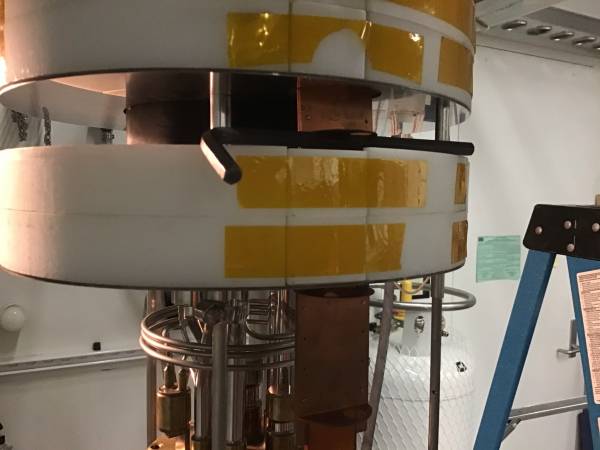
| 1530 | Use Allen key to prop up striplines on one of the fridge baffles
 |
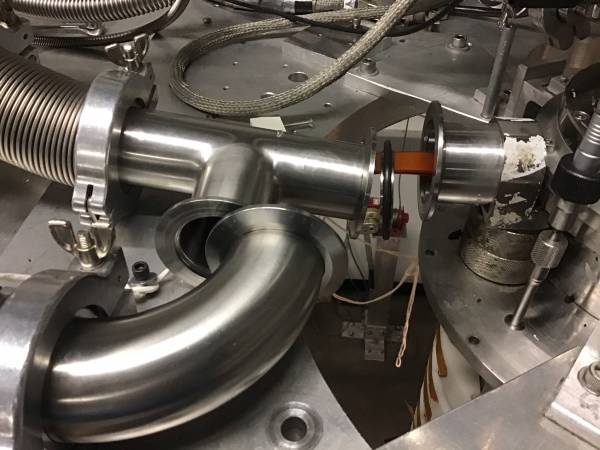
| 1535 | Disconnect KF T-connection at stripline elbow and pull E-box back to leave gap so that elbow can be moved.
 |
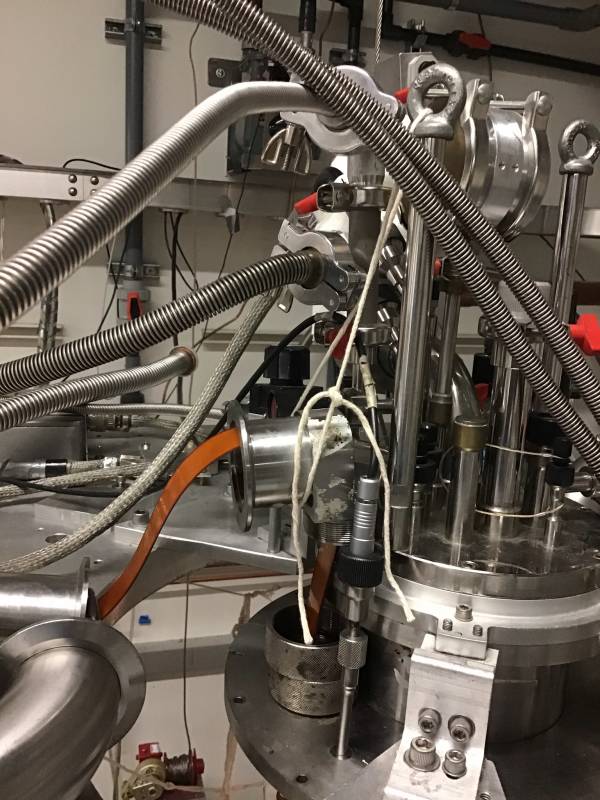
| 1550 | Pull stripline elbow up, tie up with string. Remove a bunch of Q-compound. Unscrew compression ring to pull out o-ring.
 |
| 1550 | Start pulling o-ring down along striplines
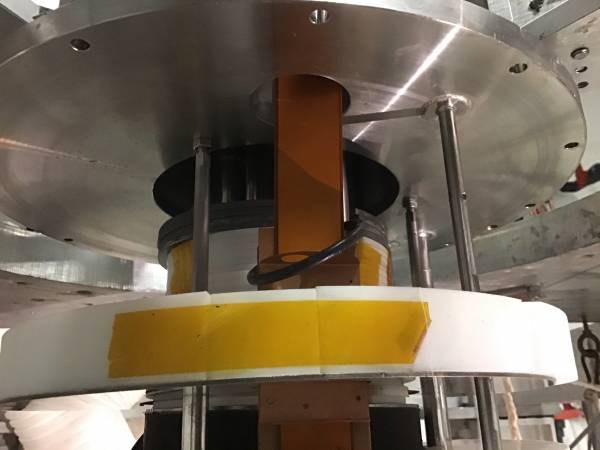 |
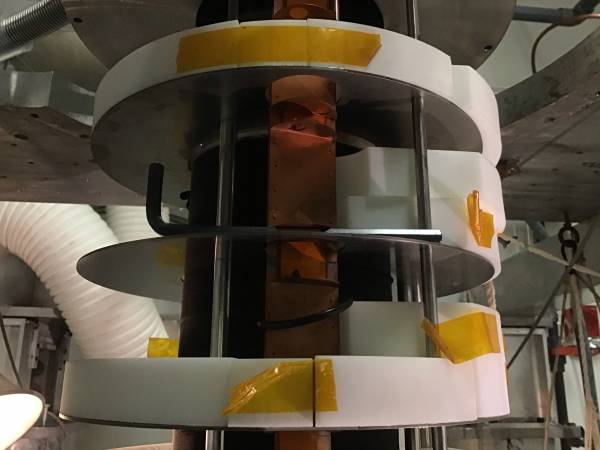
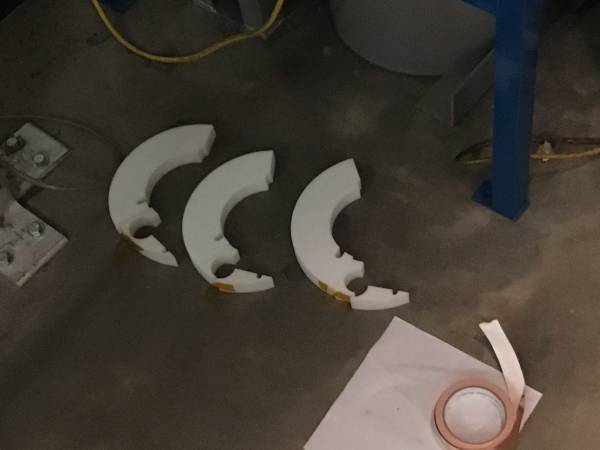
| 1555 | Remove some of the poly shield pieces to more easily work the o-ring down.
  |
| 1600 | O-ring removed. It feels OK, maybe a bit flattened out.
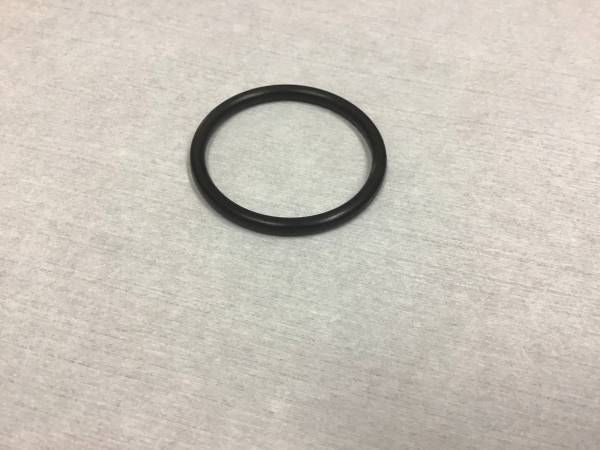 |
| | Investigate replacement o-rings. We have one left from last time. It's made of Viton and it's for LDS Vacuum 150-series Quick Coupling, which is apparently what's on the elbow. It has ID ~ 1.488“ and thickness ~ 0.138”. This is apparently size “222” in o-ring lingo. Just ordered some more from Grainger. Ordered a bunch of Viton ones, and also some “Aflas” ones, which is apparently a fancier material (much more expensive). |
| 1710 | Polish end of stripline tube with green Scotch-Brite, holding it around the tube and rotating the tube, making sure not to slide it lengthwise. Looks like this gets rid of the scratches mostly. |
| 1720 | Matt exits lab. |