| Status | Run 74 in progress. Warmed up after 3rd appearance of IVC leak at 4K. Cryostat Vacuum Jacket pumped out. |
| | Began IVC disassembly yesterday. Middle IVC, 30mK can, MC spool, 100mK all removed. |
| 1430 | Matt enters lab |
| 1435 | Prepare to remove upper stripline heatsink
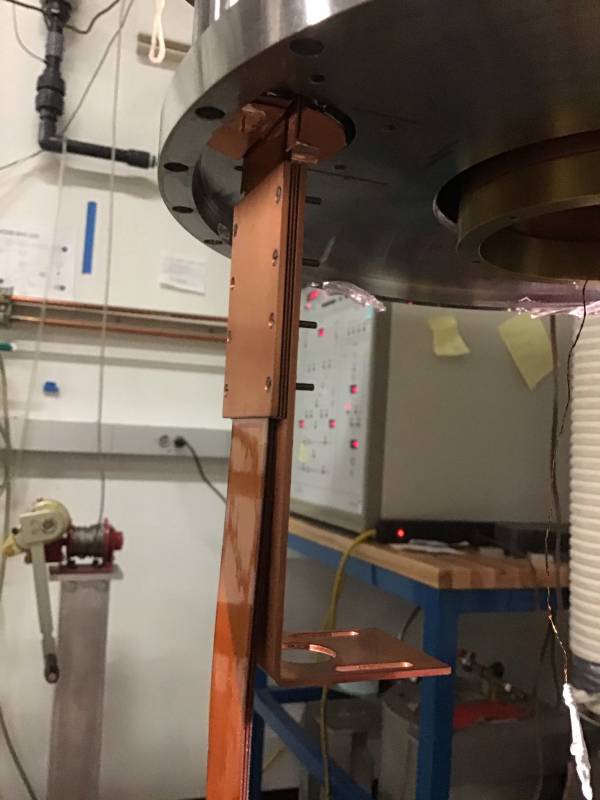 |
| 1440 | With heatsink screws loosened, heatsink is free to slip down the stripline length
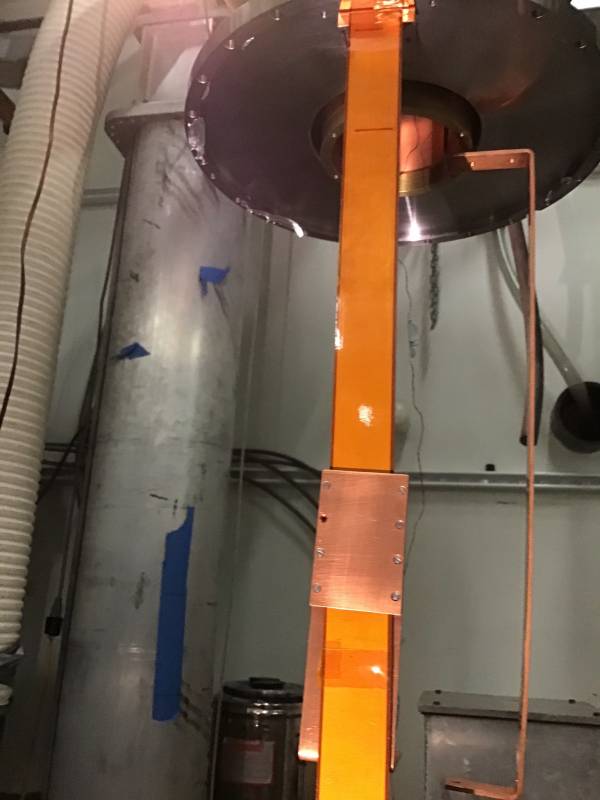 |
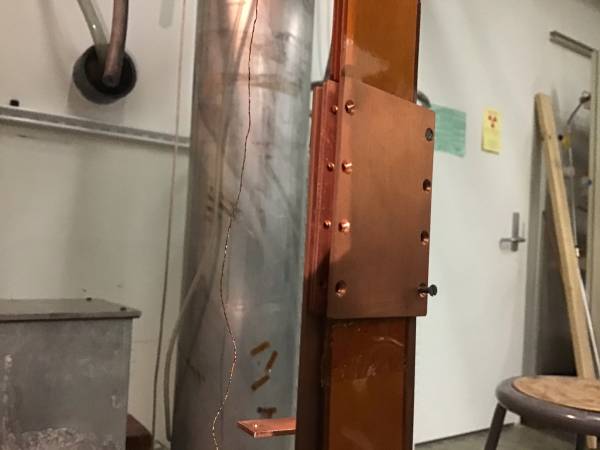
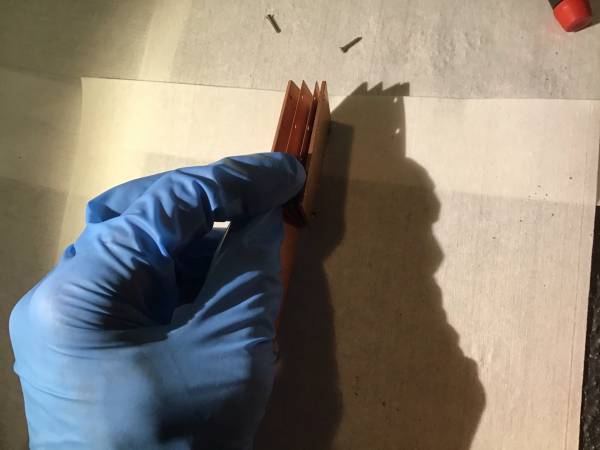
| 1440 | Remove all but two corner screws on one side. Heatsink sandwich layers can now be separated and slid off the striplines.
  |
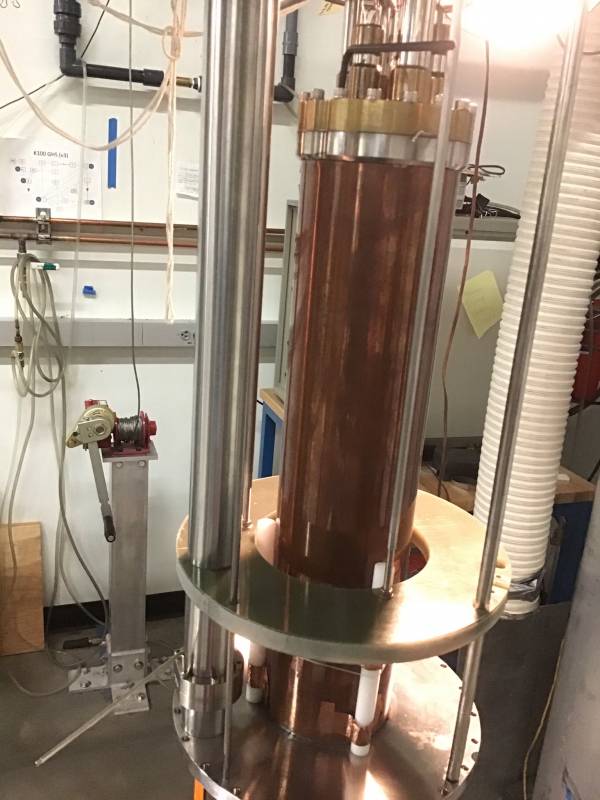
| 1445 | Ready to start removing upper IVC section - bolts at top and at stripline tube port
 |
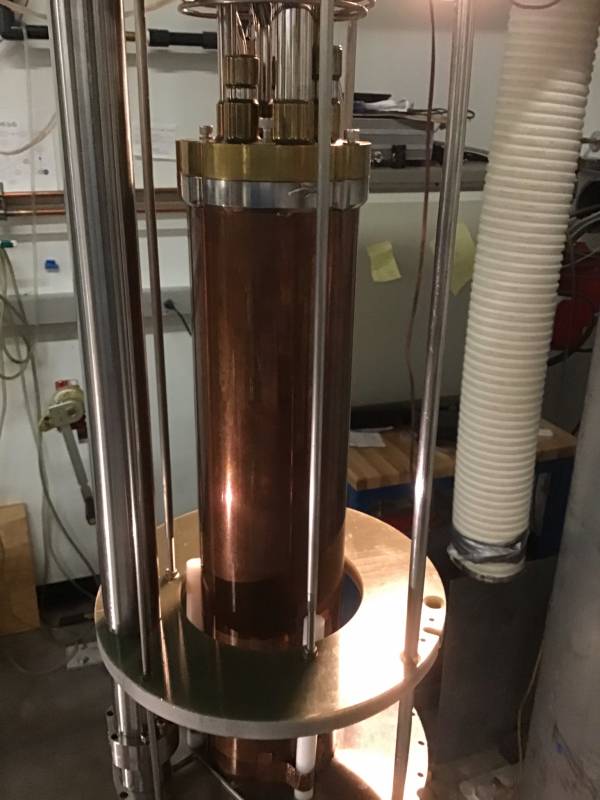
| 1500 | All but two bolts on each seal removed from upper IVC section. Bolts inserted into push holes in both seals to push it loose.
 |
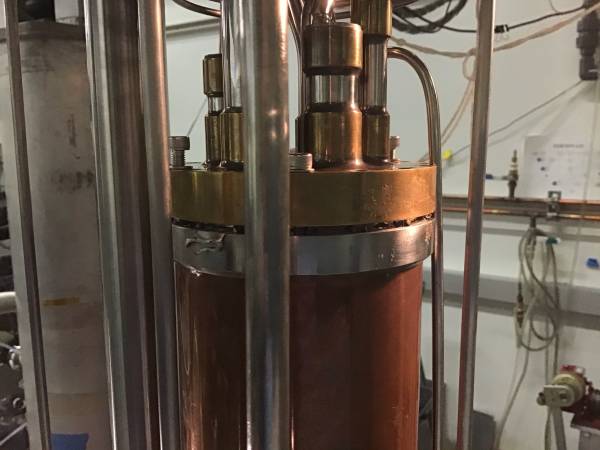
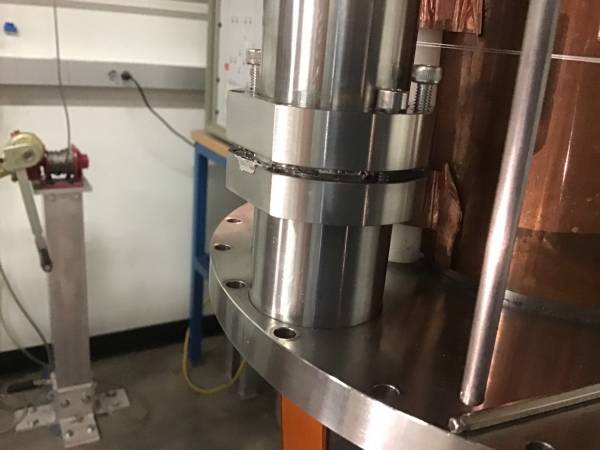
| 1510 | Tighten all four push bolts until upper IVC section comes loose
  |
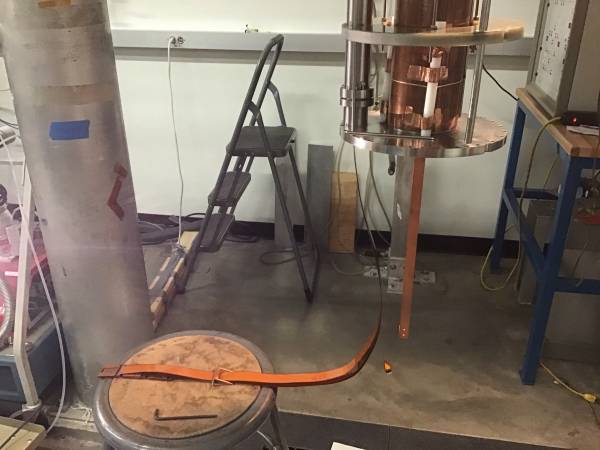
| 1515 | Prepare to lower upper IVC section. Right now, supporting the ends of the striplines on the stool so they don't have to be fully supported from above. Also, coil up thermometer wire and tape it inside of the 100mK connector tube.
 |
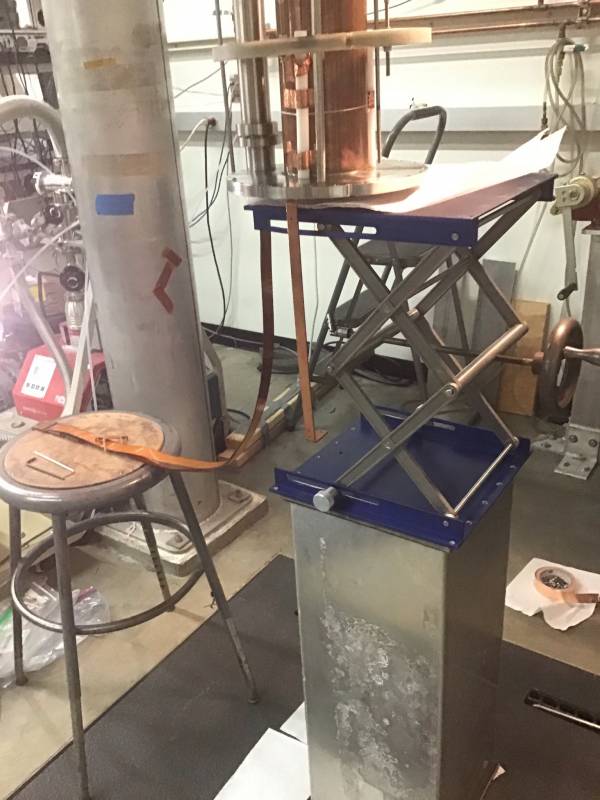
| 1525 | Set up scissor jack to support upper IVC section. Since the bottom surface is the o-ring surface, use some packing material so as not to scratch it.
 |
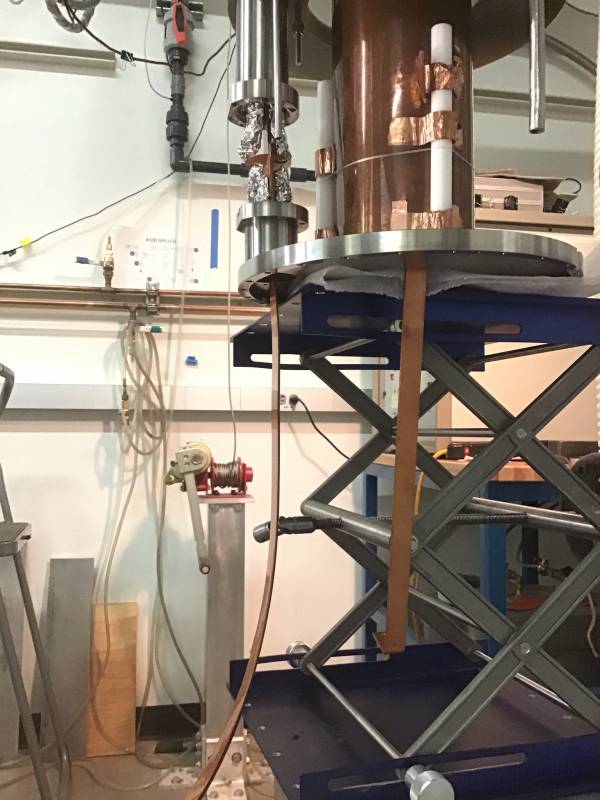
| 1530 | Lower upper IVC section partially, realize that the 600mK rod has to be pushed out of the way. Now the first stripline baffle plate is exposed.
 |
| 1535 | To free the striplines from the upper IVC section, need to remove the connector covers and the buckle.
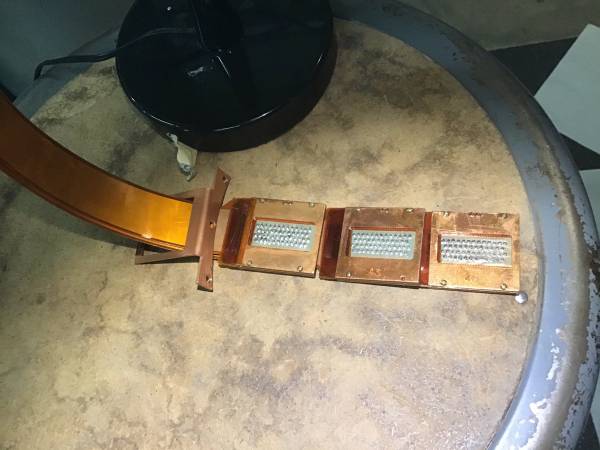 |
| 1545 | Start removing stripline connector covers. Note the two pieces are nearly but not quite identical - the window on the back side piece is larger than the window on the socket side.
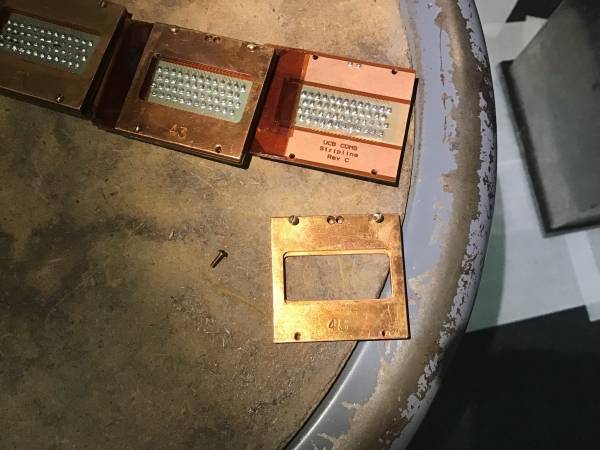 |
| 1550 | Finish removing stripline connector covers and stripline buckle
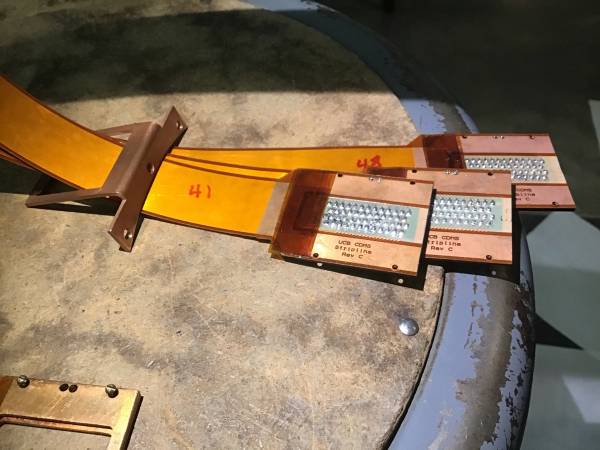 |
| 1550 | Work the striplines up through the stripline port in the IVC upper section, then lay the ends back on the stool. |
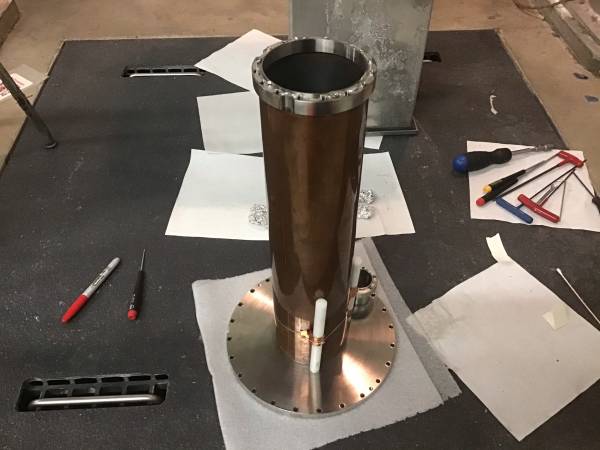
| 1555 | Lower the upper IVC section using the scissor jack, then finish removing it - kind of difficult at the end because the stand had to be pushed out of the way. But the IVC section is not too heavy.
 |
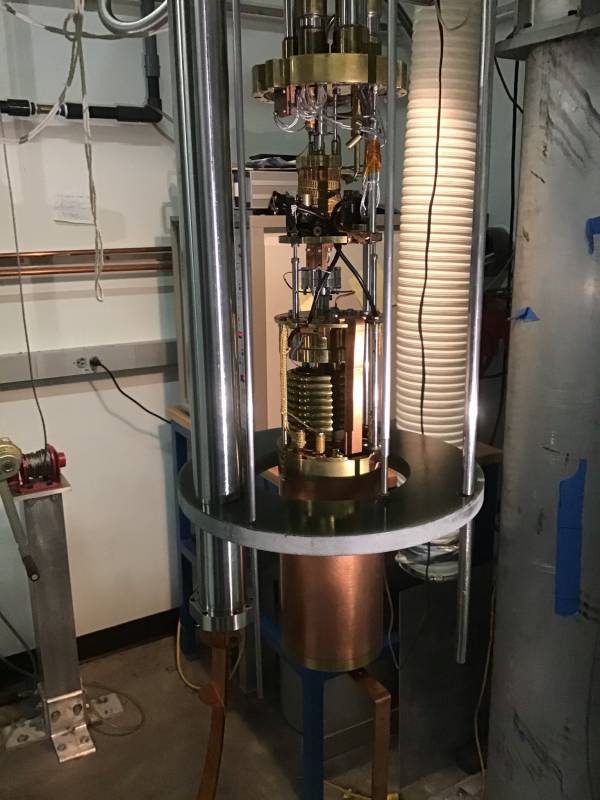
| 1600 | Fridge guts exposed
 |
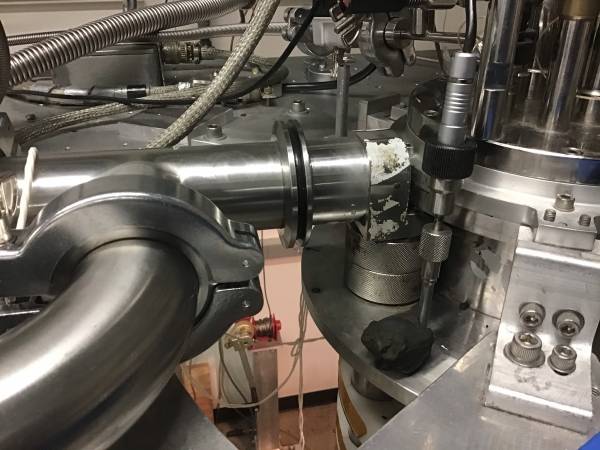
| 1625 | Remove KF flange clamp from stripline elbow at top of fridge, and scooch E-box back so that elbow is loose on that side. It's difficult to loosen the two compression rings on the elbow, particularly the lower one for the MB seal. I think all that q-compound I put around the elbow is making it more difficult. Remove most of the q-compound.
 |
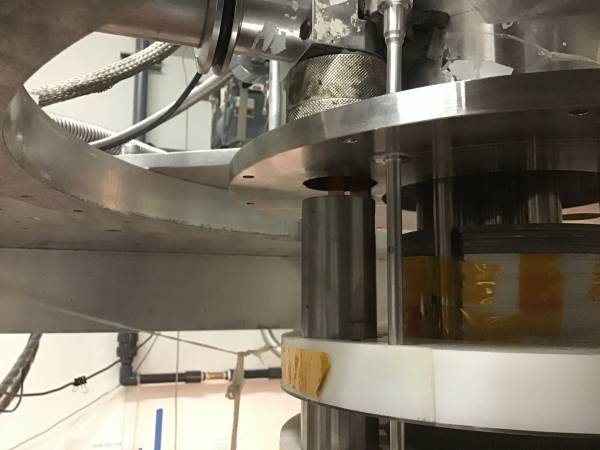
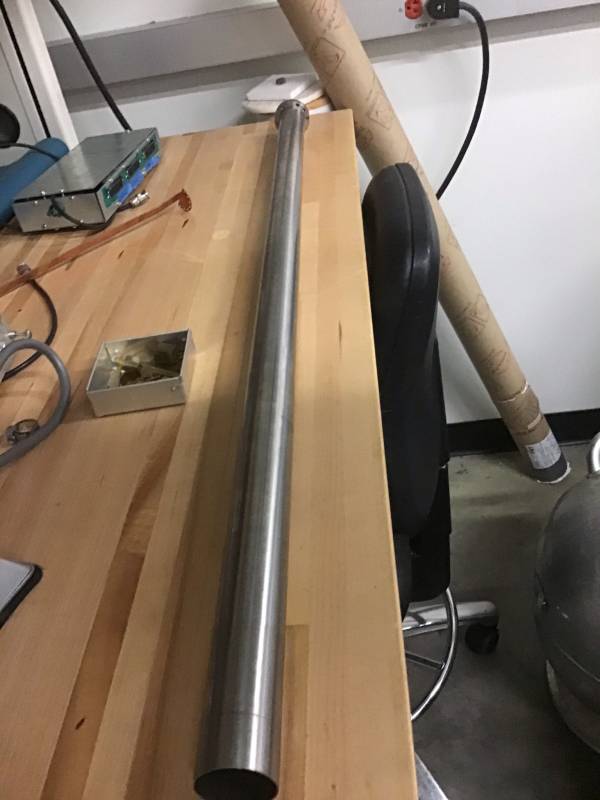
| 1630 | Loosen both stripline elbow compression rings, then slowly work stripline tube (aka wizard's staff) down free of the o-rings, hopefully not scratching it on the fridge flange. Work it down below the flange - it's still held up by the fridge baffles.
 |
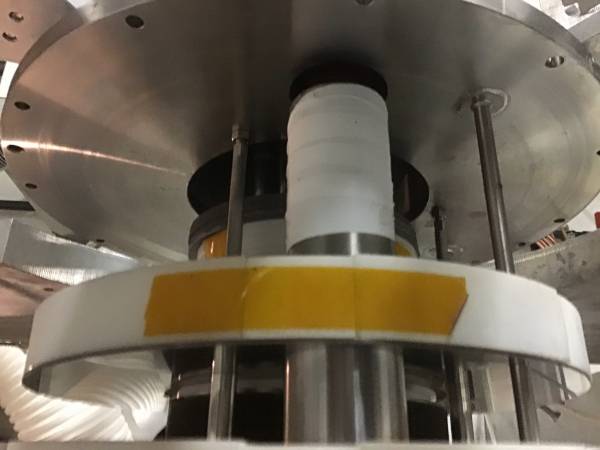
| 1640 | Try wrapping Teflon tape around end of stripline tube to help protect it while lowering it through the baffles. But this didn't work, it got pushed off.
 |
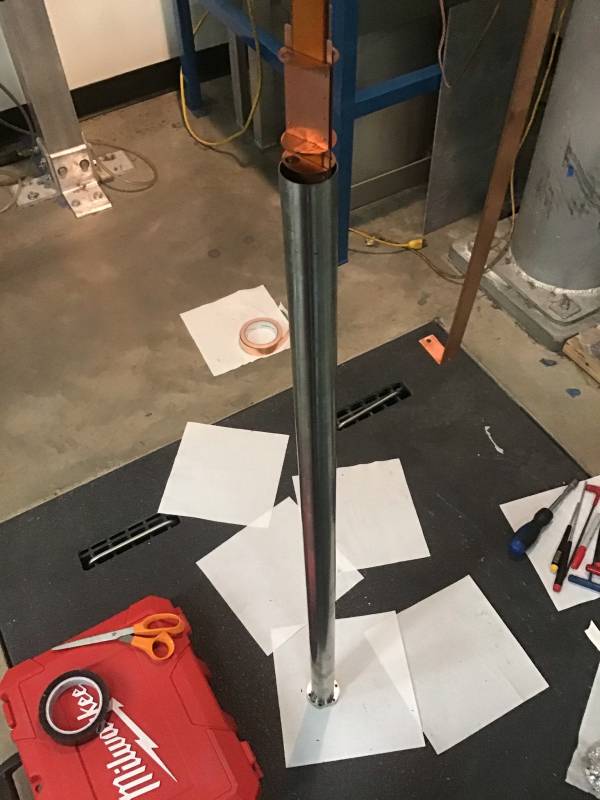
| 1655 | Lower stripline tube down to floor. This was a little tricky because the stripline connectors were getting stuck. I taped the striplines together in such a way that the connectors were more separated from one another than before, because you definitely can't fit two of them through at the same time.
 |
| 1700 | Pull striplines up through stripline tube as I work the stripline tube away. Remove stripline tube completely.
 |
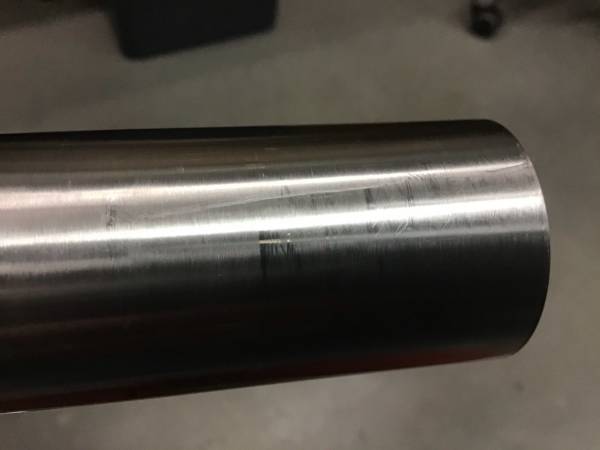
| 1705 | Scratches are definitely present on the stripline tube.
 |
| 1715 | Matt exits lab |