| Status | Run 74 in progress. Warmed up a second time to fix the DIB2qI short which reappeared at around 130 K. Tower removed yesterday. Cryostat Vacuum Jacket pumped out. Mixture in dump. |
| 1045 | Matt enters lab |
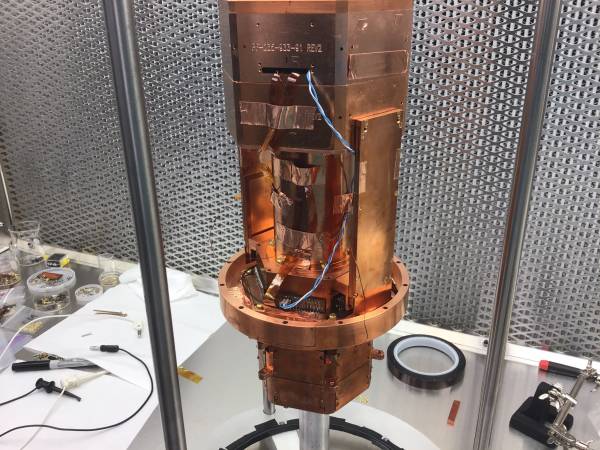
| 1050 | Bring tower to table in clean room
 |
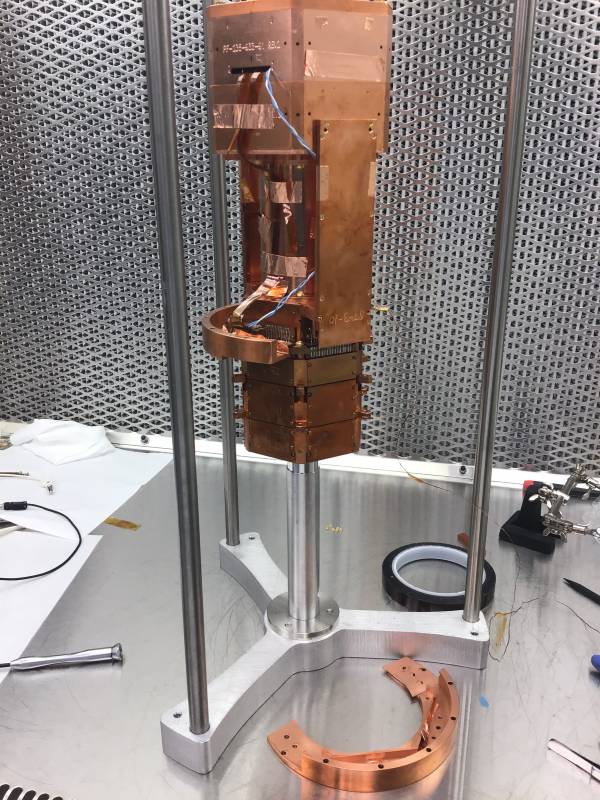
| 1100 | Remove half of tower adapter ring so that side coax ST-3-10 can be removed. |
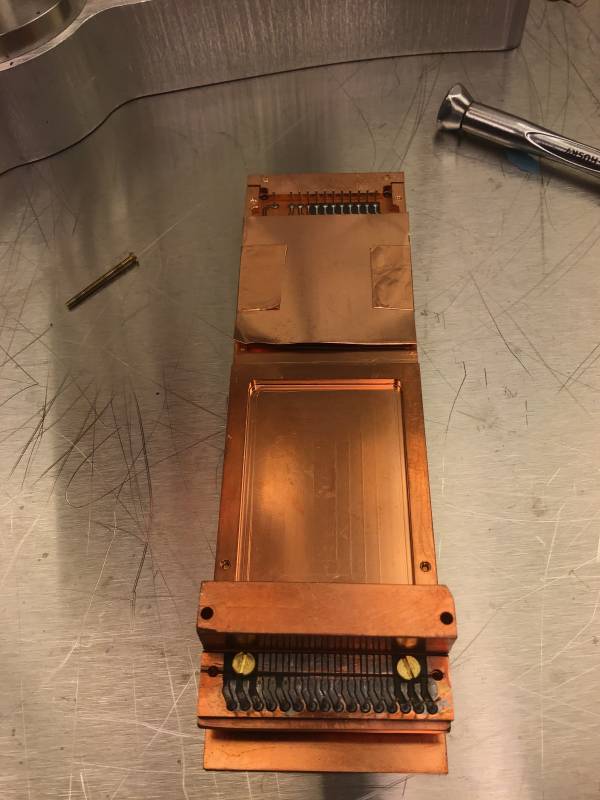
| 1105 | Remove ST-3-10 from tower and examine it. Looking for clues to short to chassis of the FET gate wire (pin 2 on the Tower side).
 |
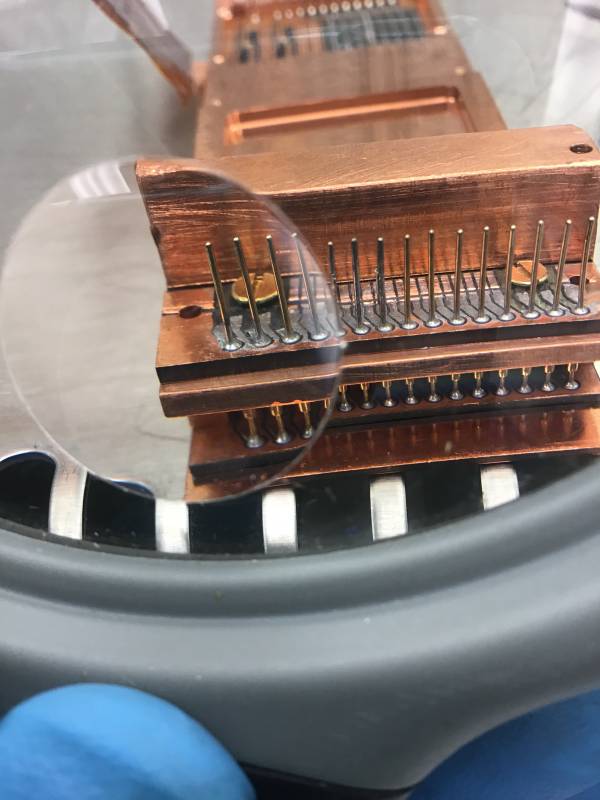
| 1105 | The short may be caused by the side coax extender, instead of the side coax itself. Examining the solder on the pins of the extender, Pin 2 is sloppier than the others. Maybe a solder short occurs at 77K. Note that this could have something to do with the differential contraction between solder or copper versus the circuit board material.
 |
| | Decide to swap out both the side coax and the extender. This requires using the short extender with the spacer between it and the tower. Had to find a stash of the long screws needed to fix the side coax to the tower, since that spacer requires using two screws. |
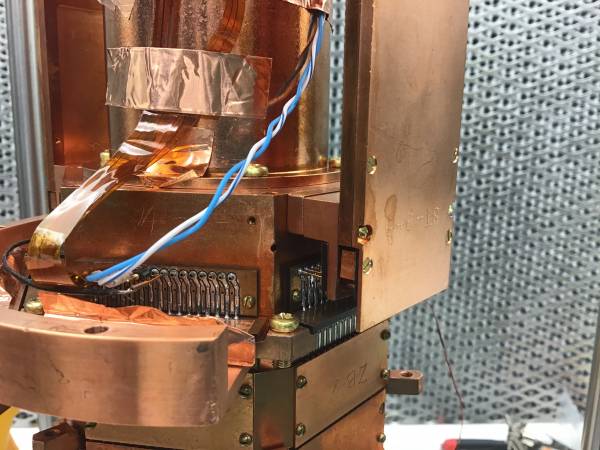
| 1120 | Install Side Coax ST-3-8 on DIB2/Face5
 |
| 1145 | Tower Electrical Check looks good, consistent with 2021 Jan 13 |
| 1230 | Move tower into the clean tent. |
| 1234 | Begin mounting process by placing tower on scissor jack below the fridge. |
| 1237 | Attach fridge stand ring to IVC. |
| 1242 | Raise tower on scissor jack, guiding 600mK rod and keeping an eye on thermometer wire and strip line. |
| 1245 | Raise jack to maximum height, guiding side coaxes into 600mK can. Insert threaded rods and tighten nuts to support the tower. |
| 1246 | Collapse scissor jack while keeping eye on strip lines. Place scissor jack on top of red drill case. |
| 1252 | Raise tower into 30mK can, guiding the 600mK rod. Tighten nuts on the threaded rods. |
| 1254 | Collapse and remove scissor jack and drill case, check plugged in thermometer to make sure it is reading. |
| 1255 | Tower thermometer looks good. |
| 1300 | Attach bolts to tower and the 30mK can, remove the fridge stand ring from IVC. |
| 1306 | Cap bottom hole of tower. |
| 1315 | Attach and fully tighten all 30mK can bolts. |
| 1316 | Do quick electrical check on motor coils, looks good still. |
| 1330 | Tape down thermometer wire to outer edge of 30mK can. |
| 1340 | Attach outer 100mK shield. |
| 1405 | Attach inner 100mK shield. |
| 1427 | Attach 100mK heat sinks. |
| 1451 | Finish attaching the 100mK stage. |
| 1452 | Attach 600mK rod. |
| 1505 | Install 4k shield. |
| 1512 | Install tower socket covers on unused tower faces. |
| 1517 | Attach SQUET ZC-13 with SL 41 to E face. |
| 1525 | Attach accessory plugs to NW face and SQUET to W face with SL 43 |
| 1547 | Do electrical check on DIB 1, look good. |
| 1554 | Install 4k heat sinks. |
| 1556 | Tape unused SL to other SLs. |
| 1602 | Clean O-ring surface of bottom IVC. |
| 1609 | Apply Indium O-ring to IVC bottom. |
| 1623 | IVC bolts are partially tightened, beginning to pump out IVC with scroll pump. |
| 1625 | Continue tightening the IVC bolts. |
| 1635 | Begin pumping on IVC with the turbo. |
| 1640 | Matt exits lab |