2021/01/13 (Wednesday)
- Lab in-person: Matt
- Virtual partner: Zach
| Status | Run 74 prep. 1K Pot pumped out and isolated. Fridge and 4He and LN2 Trap 1 isolated, not pumped out. Cryostat vacuum jacket pumped out. IVC open, tower removed. |
|---|---|
| 1455 | Matt arrives at lab. |
| 1520 | Attach Side Coax ST-3-3 to DIB1 on Tower Face 2. Screw in one screw at bottom. 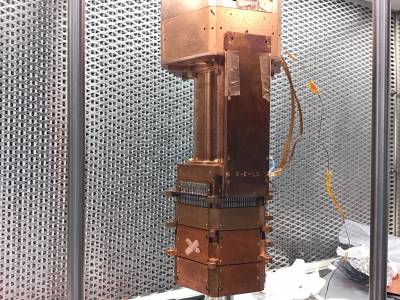 |
| 1525 | Attach Side Coax ST-3-10 to DIB2 on Tower Face 5. Screw in one screw at bottom. 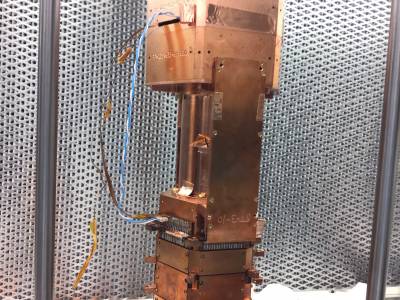 |
Tower Electrical Checkout
| Detector | USD1 | DIB | 1 | ||
|---|---|---|---|---|---|
| note: DIB1 Pin7 is connected to Side2 electrode. This is routed to Tower Face 4 Pin 9 | |||||
| side coax | ST-3-3 | date/who: | 2021-01-13/MF&ZW | ||
| face | 2 | ||||
| + lead | -lead | signal | typical | previous | measured |
| 9 | chassis | LED1 Rforward | 8 to 9 MΩ | 780kΩ | 775kΩ |
| 9 | chassis | LED1 Vforward | 1.0 to 1.1 V | 1.105V | 1.105V |
| chassis | 9 | LED1 Rreverse | <1 nS | <0.2nS | <0.1nS |
| 10 | chassis | LED2 Rforward | 8 to 9 MΩ | 781kΩ | 773kΩ |
| 10 | chassis | LED2 Vforward | 1.0 to 1.1 V | 1.107V | 1.104V |
| chassis | 10 | LED2 Rreverse | <1 nS | <0.8nS | 0.3 nS |
| 11 | Face4-9 | Qo Rbias | 24 to 26 nS | 26nS | 25.4 nS |
| 11 | 12 | Qo C coupling | <1 nS | <.2nS | <0.1 nS |
| 13 | 12 | Qo Rfeedback | 24 to 26 nS | 25.4 nS | |
| 14 | Face4-9 | Qi Rbias | 24 to 26 nS | 25nS | 25.4 nS |
| 14 | 15 | Qi C coupling | <1 nS | <0.2nS | <0.1nS |
| 16 | 15 | Qi Rfeedback | 24 to 26 nS | 25nS | 25.4nS |
| 1-8, 11-16 | chassis | Chassis shorts | <1 nS | <1nS | <0.1nS |
| Detector | USD1 | DIB | 2 | ||
|---|---|---|---|---|---|
| note: DIB1 Pin7 is connected to Side2 electrode. This is routed to Tower Face 4 Pin 9 | |||||
| side coax | ST-3-10 | date/who: | 2021-01-13/MF&ZW | ||
| face | 5 | ||||
| + lead | -lead | signal | typical | previous | measured |
| 9 | chassis | LED1 Rforward | 8 to 9 MΩ | 770kΩ | 756kΩ |
| 9 | chassis | LED1 Vforward | 1.0 to 1.1 V | 1.12V | 1.107V |
| chassis | 9 | LED1 Rreverse | <1 nS | <2.0nS | 3nS |
| 10 | chassis | LED2 Rforward | 8 to 9 MΩ | 787kΩ | 776kΩ |
| 10 | chassis | LED2 Vforward | 1.0 to 1.1 V | 1.12V | 1.107V |
| chassis | 10 | LED2 Rreverse | <1 nS | <0.5nS | 0.1nS |
| 11 | Face4-9 | Qo Rbias | 24 to 26 nS | 25nS | 26.4nS |
| 11 | 12 | Qo C coupling | <1 nS | <.5nS | <0.1nS |
| 13 | 12 | Qo Rfeedback | 24 to 26 nS | <1 nS | 26nS |
| 14 | Face4-9 | Qi Rbias | 24 to 26 nS | <1 nS | 25.0nS |
| 14 | 15 | Qi C coupling | <1 nS | <0.2nS | <0.1nS |
| 16 | 15 | Qi Rfeedback | 24 to 26 nS | 26nS | 26.1 nS |
| 1-8, 11-16 | chassis | Chassis shorts | <1 nS | <1nS | <0.1nS |
| Source mover | date/who: | 2021-01-13/MF&ZW | |
|---|---|---|---|
| Face: | 4 | ||
| 1 | 2 | Motor Coil 1 | 7.47kΩ |
| 3 | 4 | Motor Coil 2 | 7.62kΩ |
| 2 | 3 | Coil isolation | <0.1nS |
| 1-6, 9 | chassis | Chassis shorts | <0.1nS |
| 1540 | Tape down motor wires and endstop wires. For motor wires I put a piece of Kapton tape in the middle of the sticky side of the copper tape so as not to stick it to the stripline. 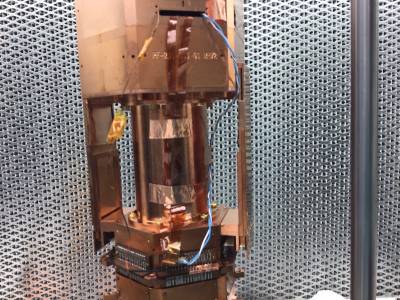 |
|---|---|
| 1550 | Attach 30mK can adapter (although I had to redo it because I forgot to run the thermometer wire through the hole). It looks like the loop in the motor wire striplines will just clear the can. 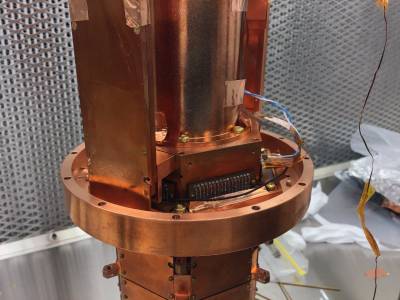 |
| 1600 | Tower is complete 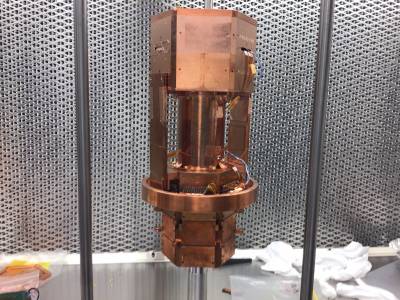 |
| 1630 | I'll do the tower installation as basically a reverse of the removal from Nov 24. Start by sliding the fridge stand ring down on the guide shafts. 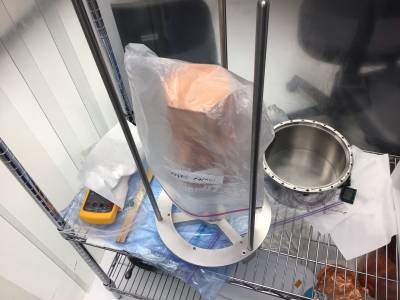 |
| 1635 | Lower scissor jack completely and put tower stand on it. Slide it under the IVC. Note that you need to pull the guide shafts apart slightly to get them around the IVC. 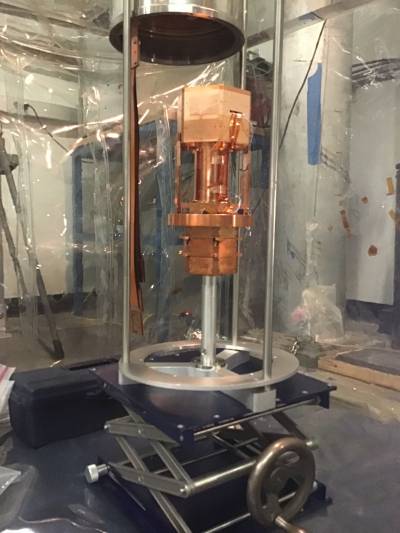 |
| 1635 | Slide the ring up and attach to the bottom of the IVC. (Note: this seems like an opportunity to scratch the o-ring surface. That's probably why we sometimes get scratches and leaks there.) 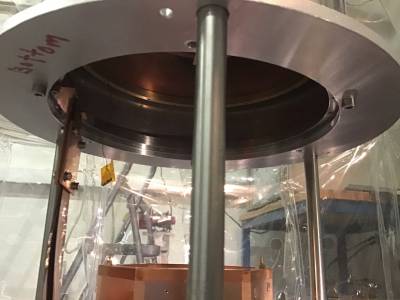 |
| 1640 | Put the threaded rods in with the nuts near the top. 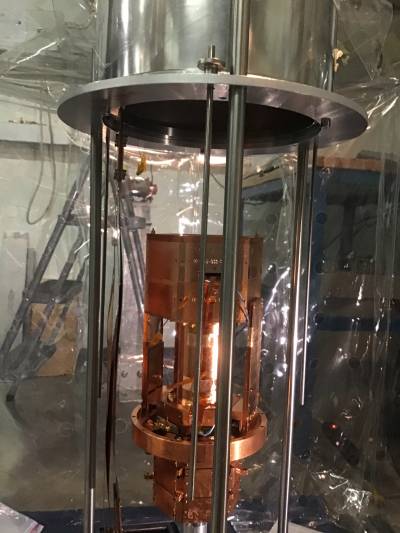 |
| 1645 | Begin raising the tower stand with the scissor jack. Pull the 600 mK rod out of the way to clear the stack. 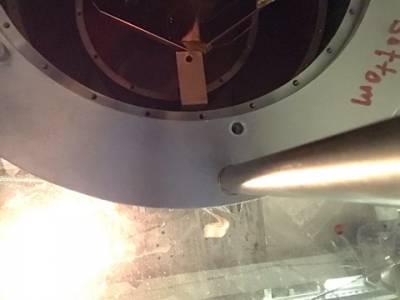 |
| 1645 | Guide the bottoms of the striplines past the edge of the scissor jack 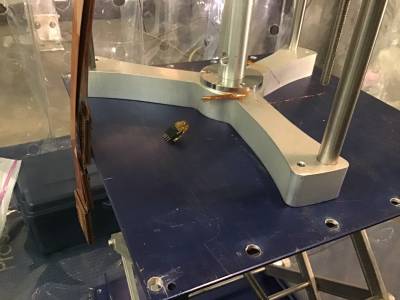 |
| 1645 | Make sure fridge wire doesn't get snagged as tower is raised. Make sure side coaxes aren't scraping the sides of the can. 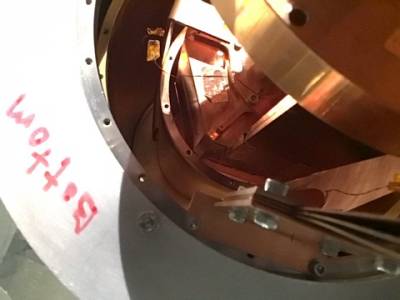 |
| 1650 | When the tower stand is high enough, screw threaded rods into base. 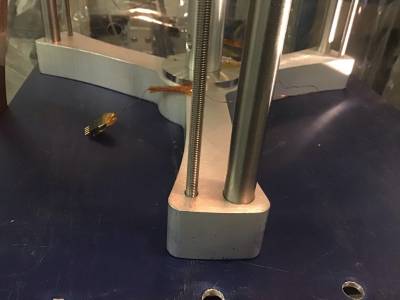 |
| 1655 | Keep raising tower and watching that nothing gets snagged 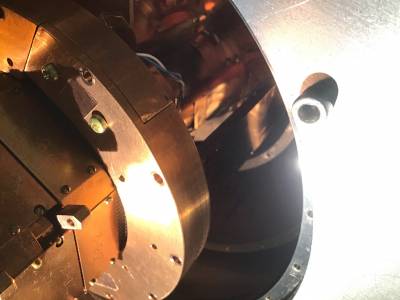 |
| 1700 | When scissor jack is fully extended, 600 mK rod is just above adapter ring. 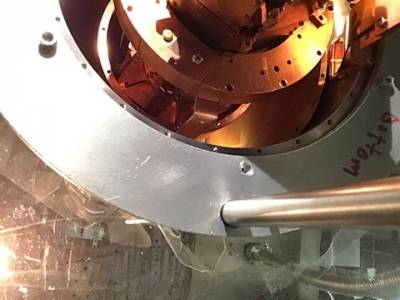 |
| 1700 | Tighten down nuts on threaded rods, then collapse scissor jack. I'll leave it there - next step will be to elevate scissor jack so we can continue using it to lift the stand the rest of the way. 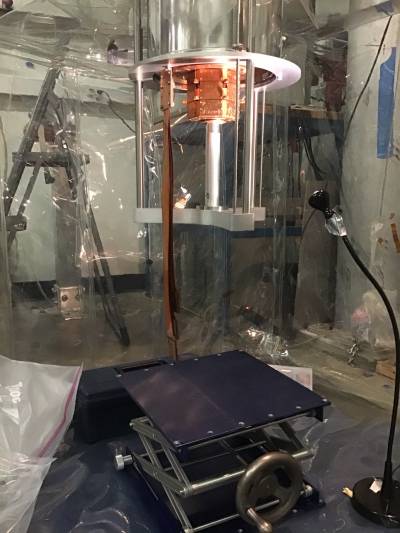 |
| 1705 | Matt leaves lab. |