2016/06/21 (Tuesday)
| Status | Tower disassembled. We need to improve insulation on SQUET flyover cables with some kapton tape. Also need to remember to pump out MB vacuum jacket more. |
|---|
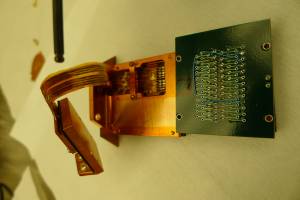
| 1200 | Go into clean room and inspect SQUETs that we just removed from the fridge: ZC-39, and ZC-13. Using the magnifying glass, spots of worn off kapton tape can be seen, at which the shiny wire peeks through. On these two SQUETs, these spots are placed perfectly where they could contact the housing of the cold end of the stripline, thus shorting to ground. Wrap these spots with one layer of kapton tape very carefully so as to only wrap around the necessary flyover cable. Using such a small amount of kapton tape should prevent any issues with folding or bending of the flyover cable. |
|---|---|
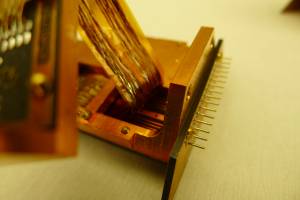
| Inspect ZC-70 as well. There appears to be one such shiny spot where the metal of the wire peeks through the kapton tape. This spot is on the back of the flyover cable, near where it contacts the SQUET and gets soldered on. This spot may have come into contact with the housing of the SQUET itself if positioned just right, but it's not as obvious as the other worn off spots. |
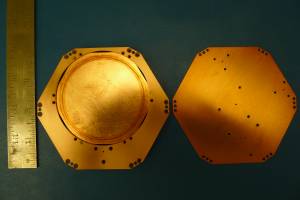
| Kapton tape added to ZC-39 flyover cable | Shiny portion on back of ZC-70 flyover | Source holders |
|---|---|---|
 |  |  |
Assembly plan:
- sources: use the two large Am sources in the 4-source holder. In this run the detector will be closest to the tower so Side 2 will be illuminated by the source (in Run54 it was Side 1). So the central source will be right above the center of Side2pF. We will orient the second source to be closest to DIB1. This will position it above Side2pD, closer to pE than to pC. It will be at a radius of about 31 mm; in Run 54 the radius was about 36 mm (can look up design drawings of source holders to get exact radii). This places it a little closer to the center channel than to the outer channel.
- Side coaxes: We have no choice but to use the three short (position-1) side coaxes ZB1-1-6 / ZB1-1-9 / ZB1-1-11 on DIB1 / DIB2 / DIB3
- SQUETS: We'll use the same two from last run with the tape repairs and one of the new ones. ZC13 / ZC14 / ZC39 on DIB1 / DIB2 / DIB3
| 1720 | Enter cleanroom to install Am sources onto source holder. Place Am source 1 in center of holder and Am source 2 in the off-center position. Attach source holder plate to source holder housing (along with thermometer plate). |
|---|---|
| 1745 | Take detector G106a from purge cabinet, and remove crown in order to place it on the tower. When attempting to remove the other cover from detector, there was a slight resistance that required a bit of side to side jiggling to get the cover loose. On that side of the detector, it appears there was some residue as pictured below: |
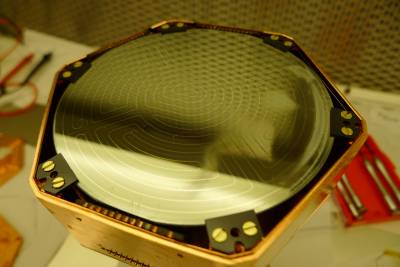 | 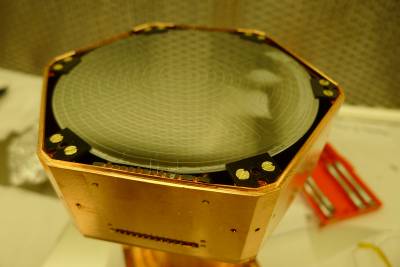 |
| There's a whitish, foggy discoloration over a few regions seen to the right in these photos | |
| Attempt to place source holder housing on top of detector, but the holder won't sit flat. There is a small gap on one side when it's placed on the detector. Perhaps the same reason the cover wouldn't come off easily. Put covers back on the detector, and place it, the tower, and the source holder back in the purge cabinet overnight. |