2018/01/23 (Tuesday)
| Status: All mixture in dump, fridge isolated. LN2 traps warm and pumped out. 1K Pot needle valve closed. IVC completely removed. Stripline tube removed. Ebox and tubing from ebox to elbow removed. Ready to remove old striplines. |
|
| 1010 | Remove striplines. Three-person job: one on ladder at warm end, one in middle to pull baffle plates through hole at top (after moving elbow out of the way), one at bottom to guide through. After the baffles are through, bottom person comes over to the warm end to help hold the striplines without too much bending. |
| 1035 | Check the hole at fridge top that stripline tube goes through. You can feel a weld joint. Try sandpapering this down a bit. |
| 1045 | Replace o-ring for fridge top compression seal around stripline. Add some grease. |
| 1100 | Measure baffle positions on removed striplines from end of longest stripline |
| Baffle | Distance from cold end (inches) |
|---|---|
| 1 | 39.0 |
| 2 | 43.75 |
| 3 | 48.75 |
| 4 | 53.75 |
| 5 | 58.75 |
| 6 | 64.0 |
| 7 | 68.75 |
| these are measured from the far end of the longest stripline's cold connector to the nearest edge of the baffle plate. |
|
| Baffle | Distance from warm end (inches) |
| 7 | 42.5 |
| This is measured from the far end of the shortest stripline's warm connector to the nearest edge of the baffle plate. |
|
| Baffle is 3 in long so this implies stripline length of 9 ft 6.25 in | |
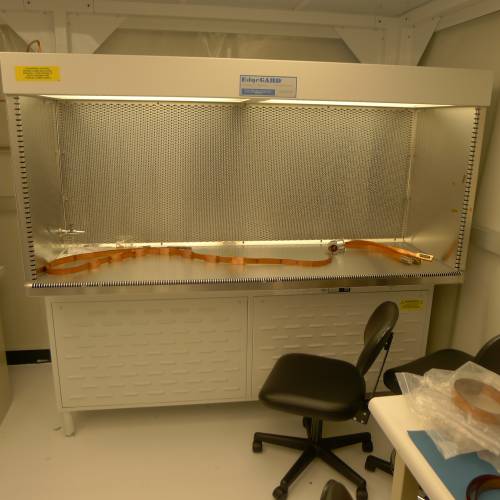 | 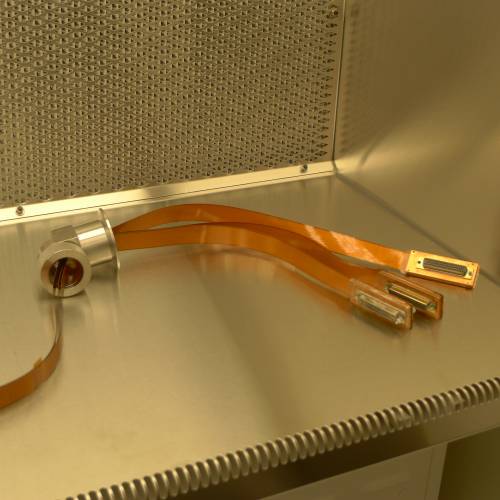 | 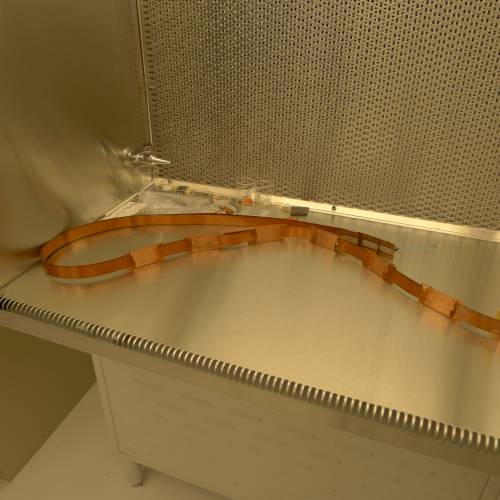 |
| Old striplines laid out on bench in cleanroom | ||
| 1130 | Removing baffles. These are tiny allen-head screws and nuts. Seems like the allen key needed is maybe 1/32“ or 0.5 mm - we can't find one small enough. Doing it with fingers and tweezers. |
|---|---|
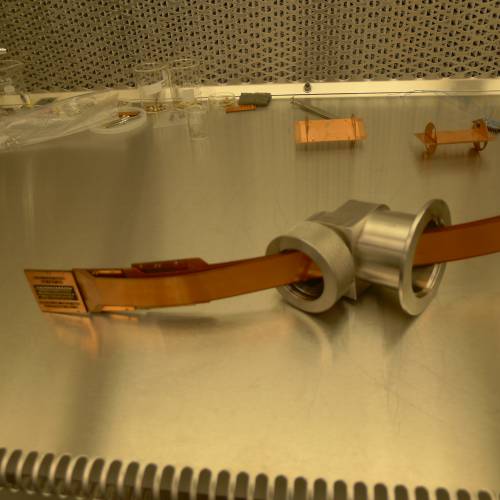
| 1150 | Baffles removed. Push the stripline cold ends (their protectors are off) through the elbow. |
 |
| 1200 | Replace connector end protectors on Striplines 19,20,27. Bag these striplines together and put in storage. |
|---|---|
| 1205 | Clean surfaces on elbow and replace and grease o-ring. |
The plan for new striplines:
- Use #41, #43, #48. Considered adding a 4th but this seems difficult.
- After a lot of consideration, stick with the same general layout:
- Sockets facing outward from fridge center
- Shortest is most inward (shortest will be #41, then #43 then #48)
- Same length difference: about 1.5 inches difference between consecutive striplines. Can't be less, probably wouldn't fit through stripline. Other limitations:
- longest can't be more than 15 inches between heatsink and connector, because hard to connect at ebox end. (Shorter would be better, especially because we won't initially need the extender board.)
- shortest should be no less than 10 inches between heatsink and connector, because this seems about minimum for a 90-degree twist without excessive torque
- So the previous 12/13.5/15-inch lengths work. But also could be a couple inches shorter.
- So place the baffles such that we can pull them up a bit if we want, to shorten them. Start at 39.0 inches as above but only 1.75 inch separation between.
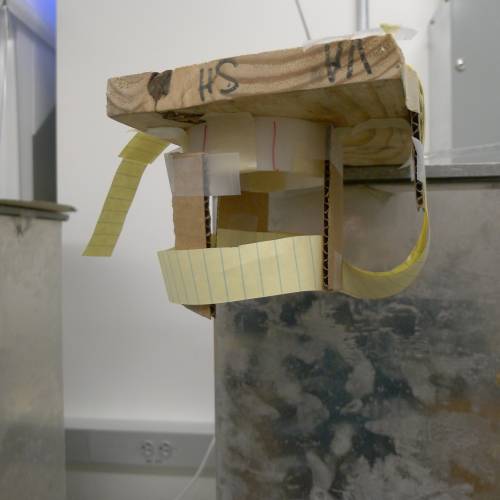 | 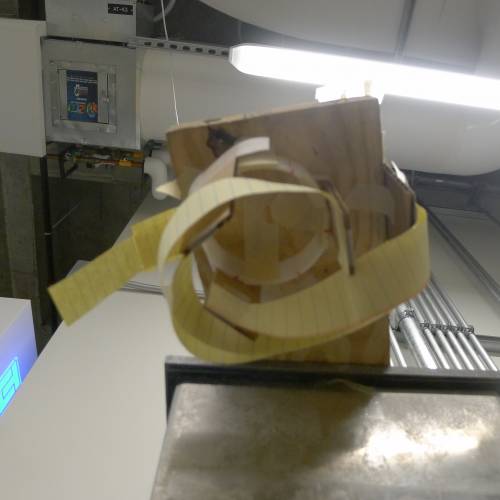 |
| Mockup of alternative stripline arrangement. Neater but won't work: twist-length too short. | |
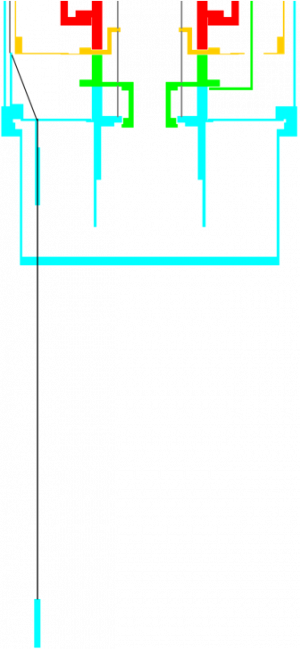 | 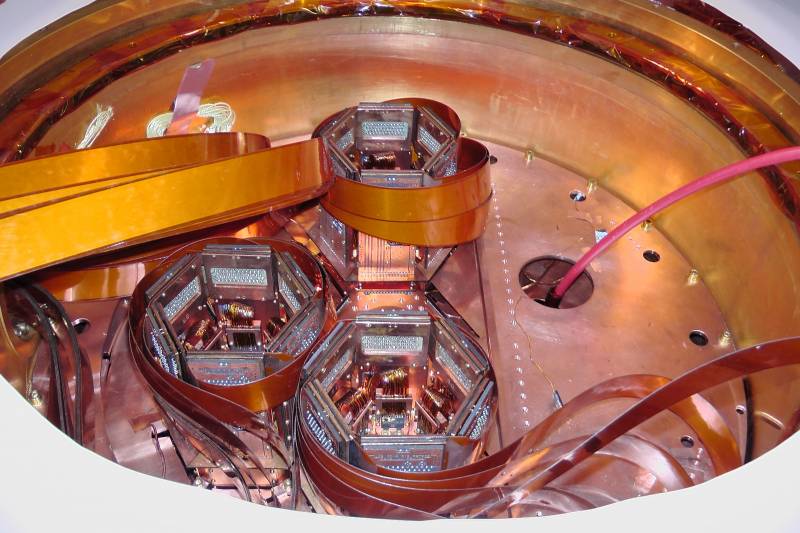 |
| Our setup | Soudan layout |
| 1630 | Lay new striplines #41, #43, #48 out on clean bench. Arrange them as describe above, and wrap one piece of kapton tape to hold them together. |
|---|
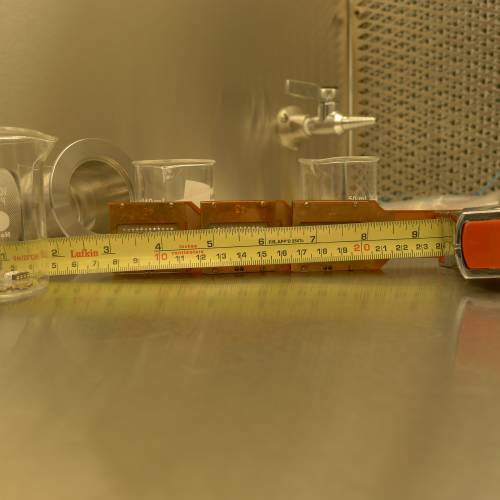 |
| Stripline arrangement. Length difference set to 1.75 inches |
| 1640 | Put first baffle on separated 36.0 inches from end of longest stripline. But this was premature - need to take this back off and put stripline ends through elbow first. |
|---|
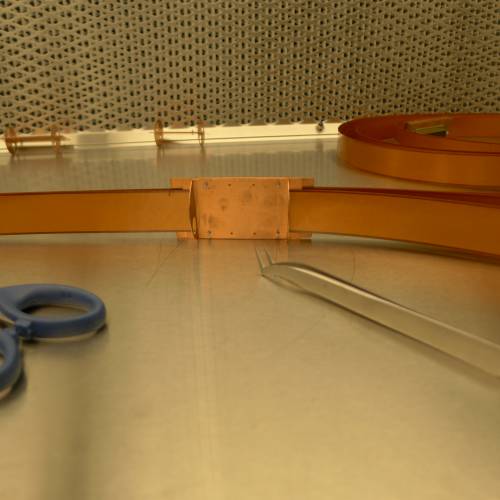 | 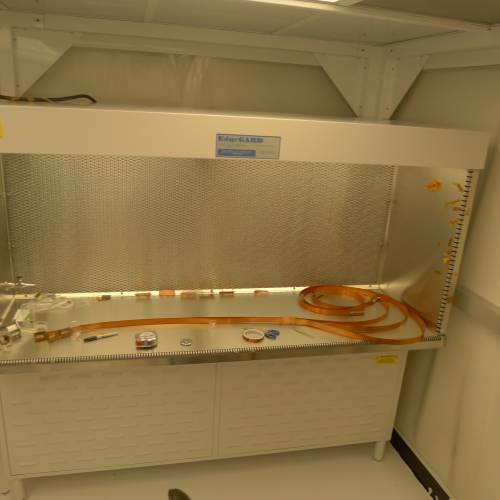 |
| Baffle attached, too soon | New striplines laid out on bench |